Keycloak is primarily designed to provide authentication, authorization, and Single Sign-On (SSO) for web and mobile applications. It is designed to centralize security and access control, enabling application developers to efficiently integrate these features.
By default, Kubeflow uses Dex to provide authentication capabilities, but this can be changed. I would like to share how to switch Kubeflow's authentication to Keycloak.
If you have not yet installed Kubeflow on a Windows environment, please refer to the article shared earlier for instructions on installing Kubeflow.
1. Configuring Keycloak
1. Deploying Keycloak to a Kubernetes Environment
Download the Keycloak manifest file from the official Keycloak website.
https://www.keycloak.org/getting-started/getting-started-kube
$ kubectl create -f https://raw.githubusercontent.com/keycloak/keycloak-quickstarts/latest/kubernetes/keycloak.yaml -n auth
Please check if you can access the Keycloak console at the following URL.
http://localhost:8080
Once you have access, you should see a screen like this.

Click on "Administration Console" to display the login screen, then log in with the following username and password.
Username or email:admin
Password:admin

2. Configuring Clients from the Keycloak Console
From the Keycloak console, configure Kubeflow as a Client.
Creating a Client
Click on "Clients" from the menu on the left.
Click on "Create client" to create a new client.

Setting the Client ID
Set the "Client ID".
For this example, we have set it as
kubeflow-oidc-authservice.
Configuring Client Authentication
Set "Client Authentication" to "On".

Setting Valid Redirect URIs
Set the "Valid redirect URIs".
Please configure the following URL.
http://localhost:8989/authservice/oidc/callback

Obtaining the Secret
Click on the client you created to obtain the Secret.
Please select the client you created.

Obtain the information under "Client Secret" in the "Credentials" tab.
Please note this information as it will be used later when setting up on the Kubeflow side.

Setting the Email Address
In this setup, the user's email address is required, so we will configure the email address.
Click on "Users" from the menu on the left.
*Note: We will not create a new user this time, so the setup will be done for the default
adminuser that is already created.
Configure the email address.

This completes the configuration on the Keycloak side.
2. Configuring Kubeflow
If you installed Kubeflow using a manifest file, the directory containing information related to the authentication features would be as follows.
manifests/common/oidc-client/oidc-authservice/base
To change the settings, you will edit the following two files.
params.envsecret_params.env
Due to insufficient permissions at container startup, which leads to permission errors, modifications will be made to the following StatefulSet.
statefulset.yaml
1. Changing the OIDC Provider
Modify params.env as follows.
Set the OIDC_PROVIDER and OIDC_AUTH_URL to the IP address obtained with ifconfig.
# http://<keycloak IP>:<keyclock port>/realms/<relm name>
OIDC_PROVIDER=http://<IP address>:8080/realms/master
# http://<keycloak IP>:<keyclock port>/realms/relm name/protocol/openid-connect/auth
OIDC_AUTH_URL=http://<IP address>:8080/realms/master/protocol/openid-connect/auth
# profile email groups ⇒ profile email
OIDC_SCOPES=profile email
# add
AUTHSERVICE_URL_PREFIX=/authservice/
# /dex ⇒ /authservice
SKIP_AUTH_URLS=/authservice
AFTER_LOGOUT_URL=/
# http://<kubeflow IP>:<kubeflow port>/authservice/oidc/callback
REDIRECT_URL=http://localhost:8989/authservice/oidc/callback
USERID_HEADER=kubeflow-userid
USERID_PREFIX=
USERID_CLAIM=email
PORT="8080"
STORE_PATH=/var/lib/authservice/data.db
Modify secret_params.env as follows.
# The client id set in the Keycloak console
CLIENT_ID=kubeflow-oidc-authservice
# The client secret set in the keycloak console
CLIENT_SECRET=xxxxxxxx
2. Modifying the StatefulSet
Modify statefulset.yaml as follows.
apiVersion: apps/v1
kind: StatefulSet
metadata:
  name: authservice
spec:
  replicas: 1
  selector:
    matchLabels:
      app: authservice
  serviceName: authservice
  template:
    metadata:
      annotations:
        sidecar.istio.io/inject: "false"
      labels:
        app: authservice
    spec:
      serviceAccountName: authservice
      #################################
      # Add permission change process
      initContainers:
      - name: fix-permission
        image: busybox
        command: ['sh', '-c']
        args: ['chmod -R 777 /var/lib/authservice']
        volumeMounts:
        - mountPath: /var/lib/authservice
          name: data
      #################################
      containers:
      - name: authservice
        image: gcr.io/arrikto/kubeflow/oidc-authservice:e236439
        imagePullPolicy: Always
        ports:
        - name: http-api
          containerPort: 8080
        envFrom:
          - secretRef:
              name: oidc-authservice-client
          - configMapRef:
              name: oidc-authservice-parameters
        volumeMounts:
          - name: data
            mountPath: /var/lib/authservice
        readinessProbe:
            httpGet:
              path: /
              port: 8081
      securityContext:
        fsGroup: 111
      volumes:
        - name: data
          persistentVolumeClaim:
              claimName: authservice-pvc
3. Applying Changes
Once the modifications are complete, apply the manifest file with the following command.
# Apply in the manifests/common/oidc-client/oidc-authservice/base directory
$ kustomize build | kubectl delete -f -
$ kustomize build | kubectl apply -f -
You can check the status of the Pods with the following command to ensure no errors are outputted.
# Resources providing authentication system
$ kubectl get pods -n istio-system
$ kubectl describe pods -n istio-system authservice-0
$ kubectl logs -n istio-system authservice-0

# Resources of Keycloak
$ kubectl get pods -n auth
$ kubectl describe pods -n auth keycloak-6f447f47f4-9hhd4
$ kubectl logs -n auth keycloak-6f447f47f4-9hhd4  # Adjust the Pod name as necessary
3. Accessing Kubeflow
To access Kubeflow, execute the following command.
$ kubectl port-forward svc/istio-ingressgateway -n istio-system 8989:80
You can access it from a browser at the following URL.
http://localhost:8989
The Keycloak login screen will be displayed.
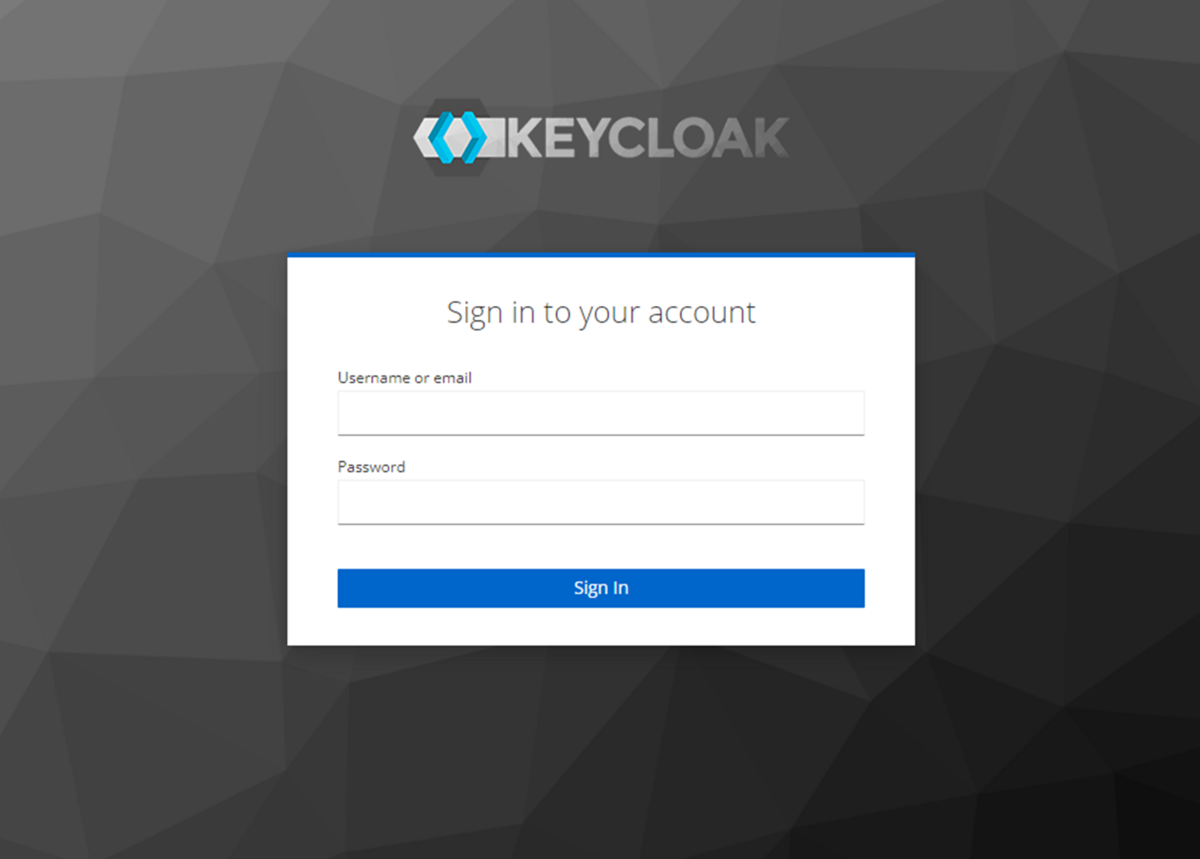
You can access it with the username and password set in Keycloak.
Username:admin
Password:admin
Successfully logged in.
If you create users on Keycloak, you can access them with the created users.
